
I have had such a wonderful summer! I hope all of you have too! Today I taught a teacher staff development to some Art teachers on watercolor! If you remember our surreal self portraits from last year, that is the lesson. I have included a more detailed description below of the steps we followed if this is something you would like to do with your class this year. It was one of my favorite projects. You can use a regular projector if you don't have an active board and let the kids take "selfies" with itouch/phones/ ipads/cameras

The teachers today made some awesome self portraits. You can see most of them are not finished yet, but they already looked amazing and they were inspired to do this with their students this year!!


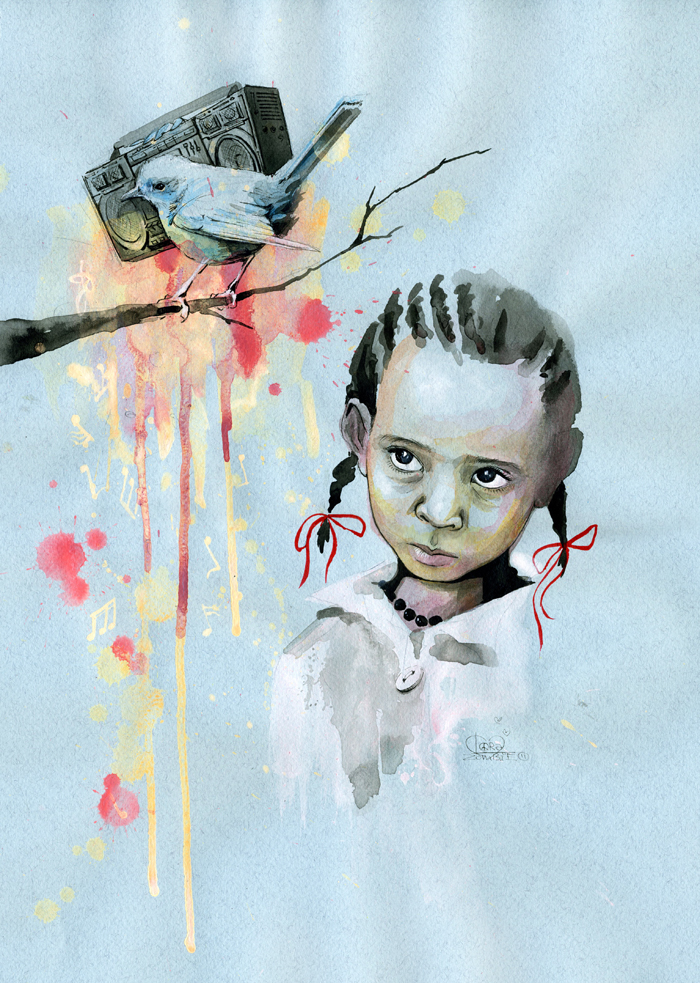
Surreal Self Portraits
-Intro- letting kids take control of their watercolor
painting by knowing lots of techniques and getting inspired!!
-Video –speed painting video
- Instructions starting with tracing (explanation) it is
their photo so they still own it, develop composition and discuss composition
what could make it surreal (inspire with
art)


-Sketch a rough draft front and back and be able to explain
why its surreal
1.Trace face
Eyes-eye lids, iris, pupil, reflection of light)
nose (no lines on the
side, we will paint shadows there)
mouth- lips but no lines in between the teeth
hair- outline the “shinys” and the dark parts sketch animal into the picture
then trace animal
2. while the rest of the class finishes their drawings,
students begin outlining with a ultra fine tip sharpie and adding texture to
animal and hair. Scales, hair, spots, feathers. Draw some follow the leader
line hairs that follow a certain direction
3. when everyone has finished 2 start with hair and skin
tones painting
Students mix skin tones with water, squirt of brown, a drip of red, and a drip of
yellow, and drip of pink mix with water and test on test paper until the
desired color is achieved then paint the face, don’t forget arms, neck, and
ears with that color.
Leave teeth, eyes, and shinys white
While paint is wet blot the cheeks, forehead and chin with
tissue. The areas that stick out on your face catch the light
When the face is dry, choose the light source right or left
and add another layer of skin tone to the shadowed areas (side of nose, under
eye brow eye lid, under bottom lip, under chin on neck and side of the
face/forehead)
4. Paint the hair, but pay close attention to shadows and
shinys (I have to find five shades of brown/blonde/red on hair it can’t be solid. There HAS to be
shineys
5. paint eyes and mouth mix a bit of red/pink to skin tone
for lips. Use black sharpie for the pupil, paint iris careful to leave the
shiny white. Use tiny tiny brush for eyes, add eyelashes every so softly
whisper brush
6. paint clothes and animal, must use value for every part
When choosing color for the clothes and the animal they can paint the animal
colorful but then they need a neutral background. If the animal is black and
white/ brown/ or neutral colors, then make a colorful background. The colored
parts will POP and the neutral parts will set back. They can give unity to the
composition by tying in colors of the animal in the person’s clothes or
accessories
Techniques: students can paint wet on wet for their
backgrounds, then add details when it dries. If they wanted to splatter paint,
I wanted some kind of light color in the background first